You may choose to record the taking of your exam locally in case of any lengthy technical difficulties with the zoom recording. Note that this should be used as a last resort– you should only begin locally recording once zoom cloud recording is unusable.
CS 61B staff cannot provide help with technical difficulties due to local recording, so make sure to test your setup and ensure you have enough storage to hold this recording on whatever device you are using. You can test the set up by recording yourself for the duration of the exam and make sure your computer is not alerting you of having insufficient storage.
Setting Up Your Local Recording
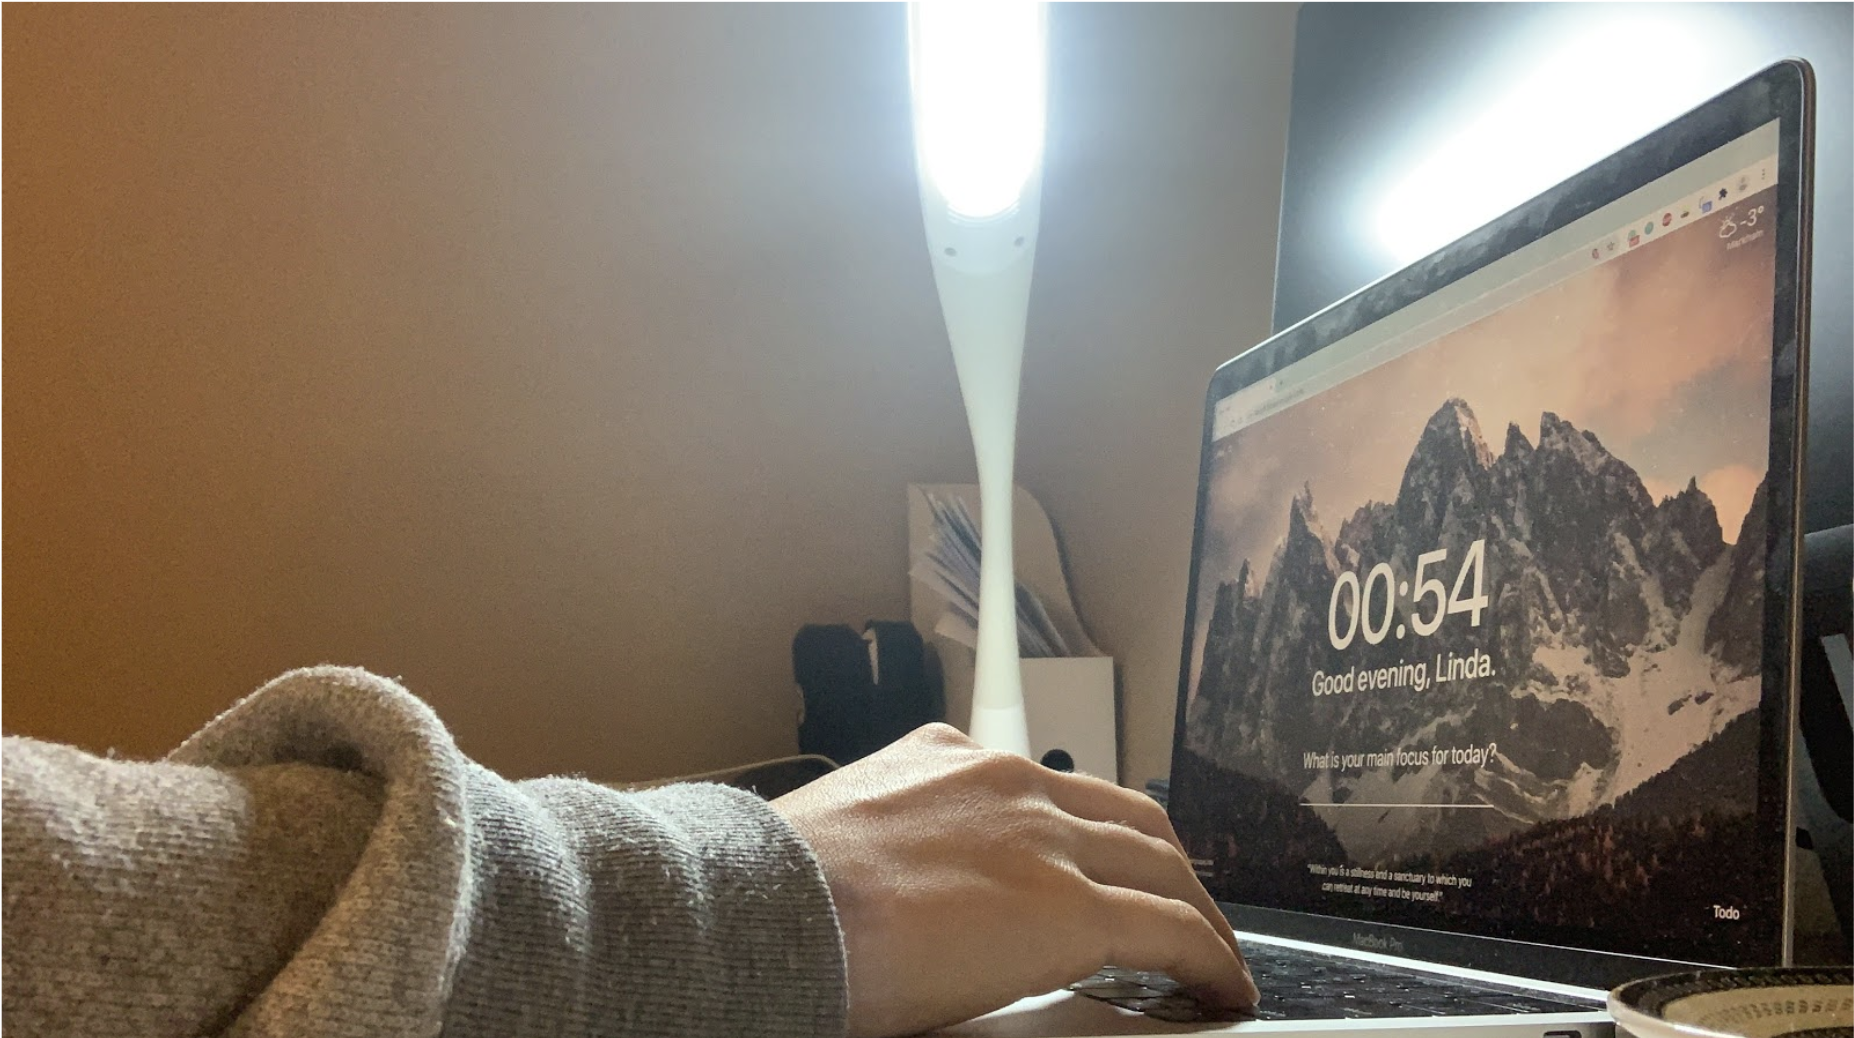
The local recording must contain the same content as the zoom cloud recording would– your screen, yourself and your audio. There are many ways to achieve this. Here are suggestions for Mac (QuickTime) and Windows (OBS, must be downloaded). It would also be acceptable to record from your phone such that the video shows both your screen, and an angle of your workspace including your hands (this is a sufficient substitute for your face) like this:
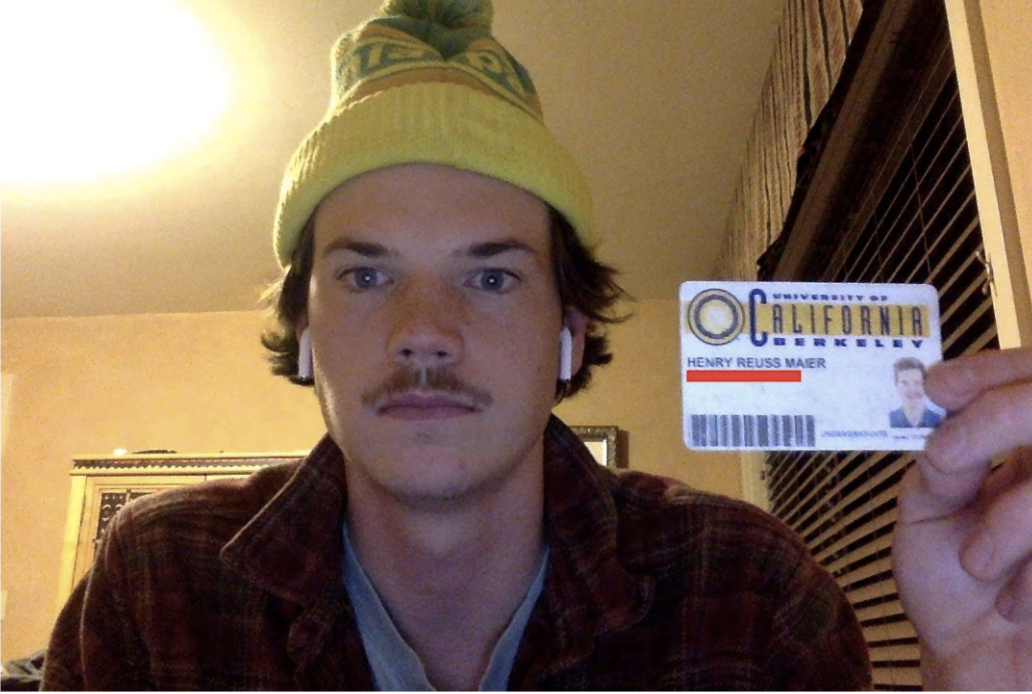
In addition to the requirements for the zoom cloud recording, upon starting your local recording you must show your Cal ID (or any other form of photo ID) next to your face for a few seconds. If you are using your phone, turn your phone so that both your face and your ID are in view. Here is an example of this:
This is only required for the local recording set up.
We recommend that you test your local recording setup prior to exam day– ensuring that the setup works with audio and video, you have enough storage, and that you can access and download the final recording.
Locally Recording During the Exam
If you are choosing to locally record, all the zoom cloud recording steps outlined in the Proctoring Policy document still apply to you. Your local recording should also contain the aerial view of your workspace as outlined in the document. You may have whatever application you are using to locally record open in addition to the other applications you are permitted to have open during the exam.
Submitting Your Local Recording
Upon finishing the exam, save your recording on your computer. Next, upload your recording to Google Drive– It may take a while to upload. Once it finishes uploading:
- Click on the file once.
- Click on the three little dots in the upper right corner to see more options.
- Click on sharing.
- Click “Change Link to UC Berkeley”, and copy the link.
- Go to the post exam form. Indicate there that you used local recording.
- Paste this link into the “Local Recording Sharing Link” field on the post-final form.
- State when and why you switched to the local recording option on the post-final form. An example of this process is given here.
We will not give any credit to students who submit local recordings that we do not have access to. We will not be able to verify for you that we have access to your recording, so make sure the link to your recording works and you have sharing options set correctly. Once the semester has ended and final grades have been released, you may revoke access to this recording by going to the same sharing drop down and changing access back to only yourself.